Product Catalogue Tutorial
XML product listing converted to a fully customisable PDF in seconds.
Welcome to the new ReportLab tutorial. Here you can get a basic introduction to a common application architecture and start experimenting with some fundamental ReportLab technologies. If you have any problems or questions, please email enquiries@reportlab.com.
We'll show you how to generate a well laid out and styled document from an XML feed. Let's get started!
This should work with Python 2.7 & >=3.3
Register And Install An Evaluation Copy Of Reportlab Plus
This tutorial is aimed at showing the use of Report Markup Language (RML), which is a component of our commercial tool-kit. All you need to do to download a full evaluation copy is sign in or register on our site; then, follow the installation instructions to get yourself set up. Once these are completed, you're ready to go.
Download And Install Tutorial Pack
First thing's first: download our tutorial pack. This includes a number of images which you will need later.
Take a look at the directory structure:
data/
output/
rml/
product_catalog.py
data/ will hold our XML
rml/ will hold the fonts, images, and templates for constructing the documents
output/ will hold the generated PDFs
product_catalog.py will be the script which ties it all together
Making Your First Document In Report Markup Language
Execute python product_catalog.py, you should see the following output:
####################

about to parse file:  data/products.xml
file parsed OK

Created output/harwood_flyer.pdf
Notice that your 'checklist' is broken; that's ok for now, we'll come back to that later. Let's take a look at the flyer PDF. It's in /output/
You should see a PDF that looks like this:
The data is coming from the XML file, products.xml located in /data/. A standard technique is to build up Python objects with the variable data of interest and pass it to our templating system, preppy. Preppy generates an RML (Report Markup Language) file, which is our own mark-up language designed to lay out documents. A single line of code then converts an RML file into a PDF. We'll look at this process later, but for now, let's dive right in and get the document looking right.
Everything related to the layout and content of the document is described within the 'Prep file', flyer_template.prep which is within the /rml/ directory. Let's take a quick tour before making changes.
Inside a Preppy Template
The file looks a lot like XML, with various bits of Python included within braces {{}}. This allows you to import functions and call on data objects which have been passed in.
The whole document is wrapped in a tag, with some key sections within it:
<docinit>
    Here we register the fonts and colors to be used throughout
    the document.
</docinit>

<template>
    Here we define templates for the document.
    They can include frames to handle flowing text, as well as
    static components of the page, such as images, text, and
    graphics. Later on, as we pass in our content, we can choose
    which templates to use for each page.
</template>

<stylesheet>
    Here we define paragraph and table styles much like you
    would in a word processor.
</stylesheet>

<story>
    Now it gets interesting. You've put in all the hard effort of
    defining styles, frames, and fonts, and now it's time to give
    your document some content.
</story>
Making Your First Change: Adding Some New Data
First, let's turn our attention to the story where we loop over the product objects (starts line 86 in flyer_template.prep):
<story>

    <para style="h1"> Product Availability </para>
    <para style="h2">{{today.strftime('%d %B %Y')}}</para>

    {{for prod in products}}
        <para style="prod_name">{{i(prod.name)}}</para>
    {{endfor}}
</story>
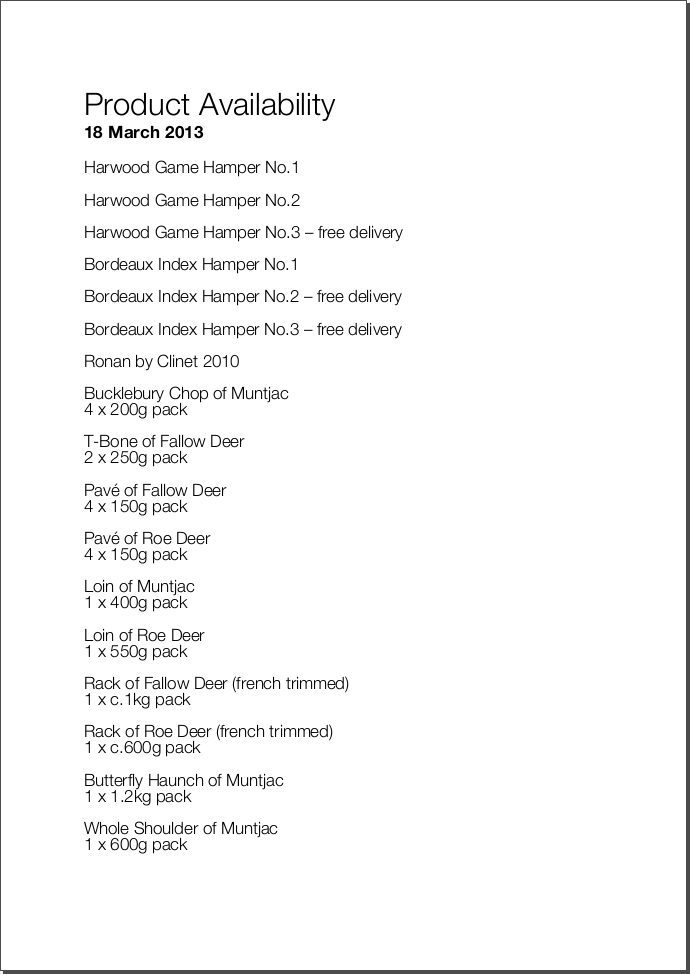
We're looping over all our products and printing a paragraph for each product's name. Let's add product summary and product price as well; your story should now look like this:
<story>
    <para style="h1"> Product Availability </para>
    <para style="h2">{{today.strftime('%d %B %Y')}}</para>

    {{for prod in products}}
        <para style="prod_name">{{i(prod.name)}}</para>
        <para style="prod_summary">{{i(prod.summary)}}</para>
        <para style="prod_price">{{i(prod.price)}}</para>
    {{endfor}}
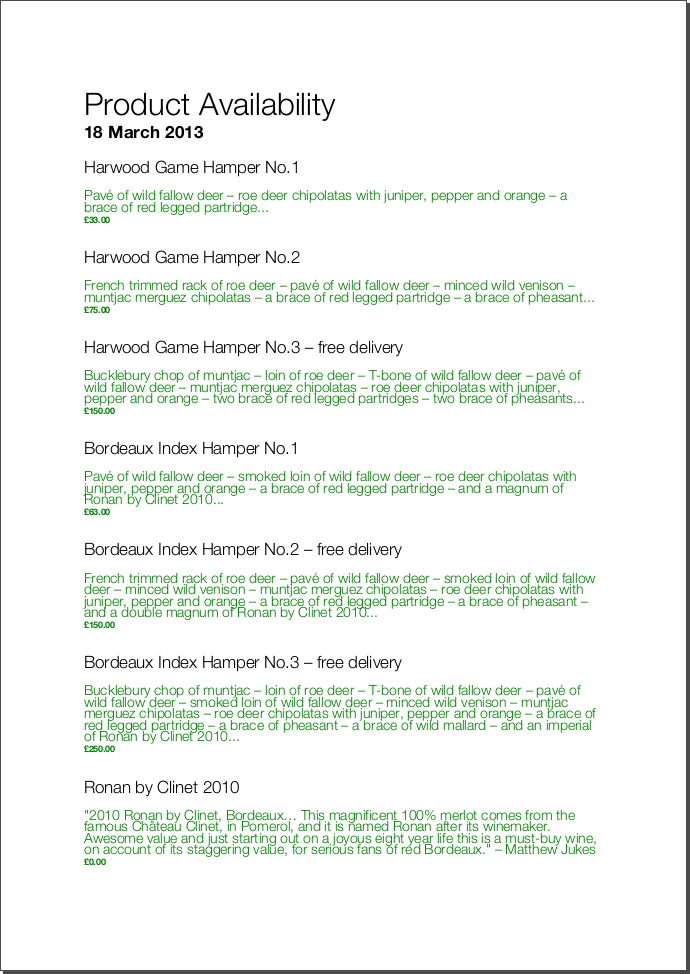
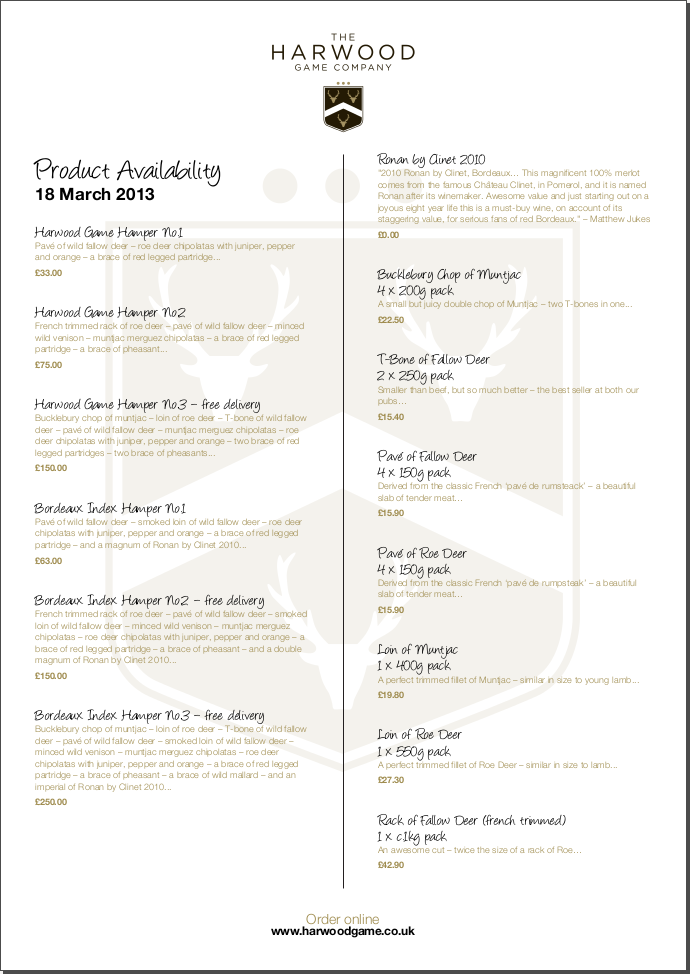
Now execute python product_catalog.py and look at the results. You should see output like shown below, with new facts about each product displayed:
Adding a page template
We have more content, but the appearance is still not ideal. Let's see how we can use a page template to arrange our content. Go back to templates and take note of each part:
<pageTemplate  id="products">
<!-- <pageGraphics> Holds a number of elements which draw  -->
<!-- graphics in fixed places on the page -->
<pageGraphics>

    <!-- <image> sets a background PDF as an image to draw
-->
    <!-- on top of -->
    <image file="{{RML_DIR}}/flyer_background.pdf" x="0" y="0" width="595"
height="842"/>

    <!-- <fill> sets the fill color for text and graphics to
follow -->
    <fill color="red"/>

    <!-- setFont sets the font and text size for text to follow
-->
    <setFont name="HelveticaNeue-Light" size="12"/>

    <!-- drawCenteredString draws text centered about the -->
    <!-- specified point -->
    <drawCenteredString x="297" y="40">Order
online</drawCenteredString>

    <!-- The following three elements do exactly as above for a
-->
    <!-- different string -->
    <fill color="black"/>
    <setFont name="HelveticaNeue-Bold" size="10"/>
    <drawCenteredString x="297"
y="30">www.harwoodgame.co.uk</drawCenteredString>
</pageGraphics>

<!-- Frames hold flowing content; when the frame is full, the -->
<!-- content begins to flow into the next frame. Once all are full,
-->
<!-- a new page is created, using the same template. The -->
<!-- <setNextTemplate /> tag may be used at any point to define
 -->
<!-- which template is to be used on the next page creation. -->
<frame id="left" x1="5%" y1="8%" width="40%" height="77%"/>
<frame id="right" x1="55%" y1="8%" width="40%" height="77%"/>

</pageTemplate>
By default, the PDF rendering engine uses the first template until it is told otherwise, so in this case, 'blank' has been used on all pages.
Let's include a set next template at the start of the story to use this 'products' template:
<story>
    <setNextTemplate name="products" />
    <nextFrame/>

    <para style="h1"> Product Availability </para>
    <para style="h2">{{today.strftime('%d %B %Y')}}</para>

    {{for prod in products}}
        <para style="prod_name">{{i(prod.name)}}</para>
        <para style="prod_summary">{{i(prod.summary)}}</para>
        <para style="prod_price">{{i(prod.price)}}</para>
    {{endfor}}
</story>
Adding Some Static Pdf Pages
Notice that a nice PDF background has been used on which the products list is printed. That can also be used to include full static pages. Let's use pre-made PDFs to replace the blank first page and insert a standard end page. Your story should look like this:
<story>
    <includePdfPages filename="{{RML_DIR}}/flyer_front.pdf"
leadingFrame="no"/>

    <setNextTemplate name="products" />
    <nextFrame/>

    <para style="h1"> Product Availability </para>
    <para style="h2">{{today.strftime('%d %B %Y')}}</para>

    {{for prod in products}}<para style="prod_name">{{i(prod.name)}}</para>
        <para style="prod_summary">{{i(prod.summary)}}</para>
        <para style="prod_price">{{i(prod.price)}}</para>
    {{endfor}}
</story>
And the generated PDF should now have pages like the following included:

Learning Some Basic Page Flow Controls
Now let's make the designer proud. First, note that page 3 beings with the text "meat...":
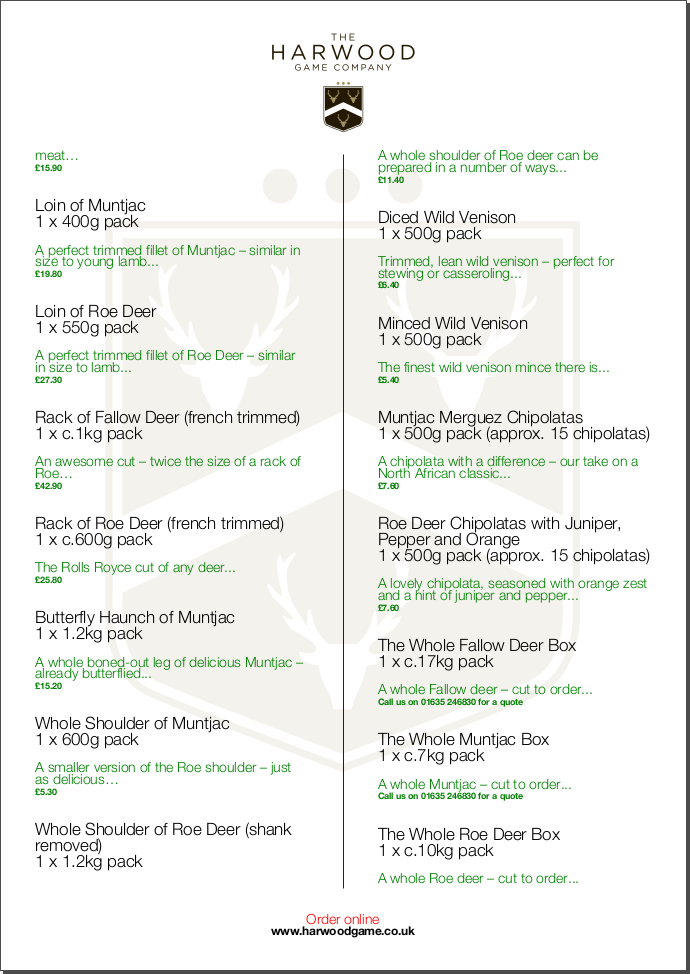
Ideally, we would be able to keep the descriptions from breaking across pages, so that all the information about a product stayed together. RML has many ways of controlling page flow and layouts, and in this case, we can use the keepWithNext attribute on these paragraph styles (prod_summary and prod_name). Your stylesheet should now look like this:
<stylesheet>
    <paraStyle name="h1"
    fontName="HelveticaNeue-Light"
    fontSize="27"
    leading="17"
    spaceBefore = "30"
    />

    <paraStyle name="h2"
    fontName="HelveticaNeue-Bold"
    fontSize="15"
    leading="17"
    spaceBefore = "15"
    />

    <paraStyle name="prod_name"
    fontName="HelveticaNeue-Light"
    fontSize="14.5"
    leading="14"
    spaceBefore = "14"
    keepWithNext = "1"
    />

    <paraStyle name="prod_summary"
    fontName="HelveticaNeue-Light"
    fontSize="12"
    leading="10"
    spaceBefore = "12"
    textColor="green"
    keepWithNext = "1"
    />

    <paraStyle name="prod_price"
    fontName="HelveticaNeue-Bold"
    fontSize="7.5"
    leading="14"
    spaceBefore = "4"
    textColor="green"
    />
</stylesheet>
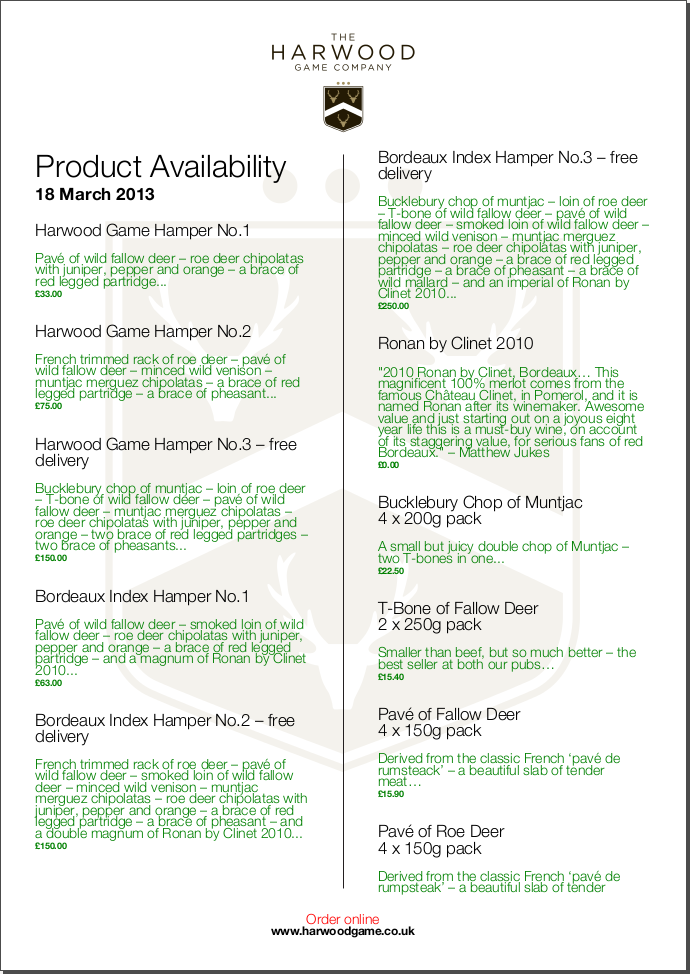
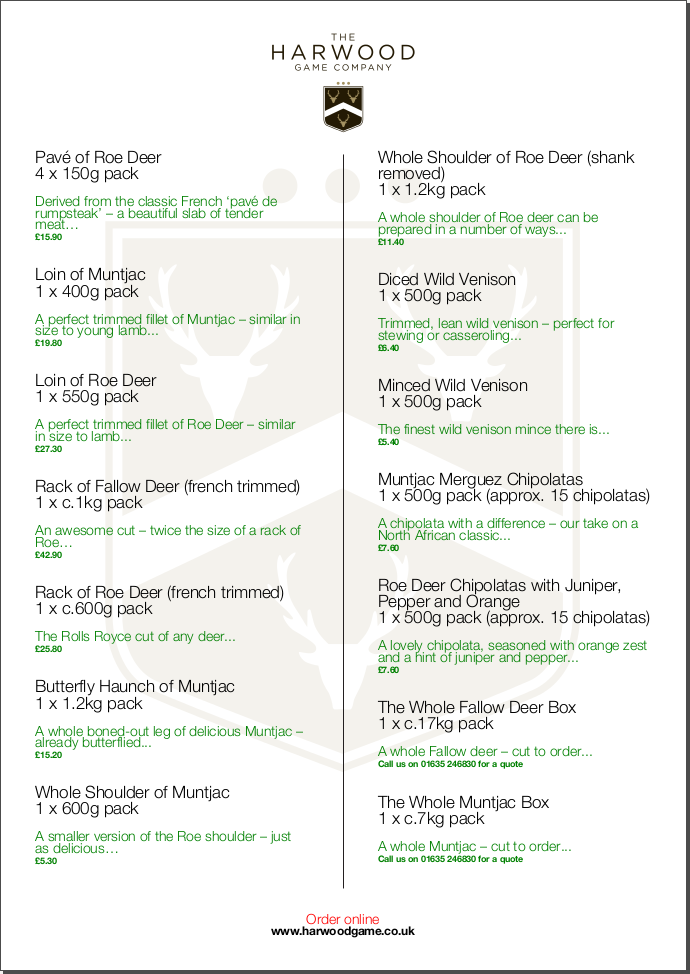
Notice that now page 3 has the entire block of content carried over together:
Getting fonts and colors correct
Finally, let's get our colors and fonts correct. We can register a new font and a new color in the docinit section; edit yours to look like this:
<docinit>
    <registerTTFont faceName="Angelina" fileName="{{RML_DIR}}/fonts/angelina.TTF"/>
    <registerTTFont faceName="HelveticaNeue-Light" fileName="{{RML_DIR}}/fonts/LTe50263.ttf"/>
    <registerTTFont faceName="HelveticaNeue-Bold" fileName="{{RML_DIR}}/fonts/LTe50261.ttf"/>
    <color id="GREEN-ISH" CMYK="[0.2,0.25,0.60,0.25]"/>
</docinit>
Now make a few small changes:
- change 'red' to 'GREEN-ISH' in line 34
- change fontName to 'Angelina' in line 50 and 64
- change fontSize to '8' in line 73
- change spaceBefore to '4' in lines 75 and 84
- change textColor to 'GREEN-ISH' in lines 76 and 85
And regenerate the document one last time:
And there you have it, a professionally finished document created on the fly from an XML file. There is plenty more to learn to control the flow for more complex documents - see the RML users guide.
Looking at the data source
Now let's turn our attention to how we passed the data into the template in the first place. Open product_catalog.py. For now, lets focus on lines 44-64, where we see the main loop over the XML to build product objects:
for prodTag in tagTree:
    id = int(str(prodTag.ProductId1))   #extract tag content
    if id in ids_seen:
        continue
    else:
        ids_seen.add(id)
    prod = Product()
    prod.id = id
    prod.modelNumber = int(str(prodTag.ModelNumber))
    prod.archived = (str(prodTag.Archived) == 'true')
    prod.name = fix(prodTag.ModelName)
    prod.summary= fix(prodTag.Summary)
    prod.description= fix(prodTag.Description)
    if prod.modelNumber in request_a_quote:
        prod.price = "Call us on 01635 246830 for a quote"
    else:
        prod.price =  '£' + str(prodTag.UnitCost)[0:len(str(prodTag.UnitCost))-2]
    if prod.archived:
        pass
    else:
        products.append(prod)
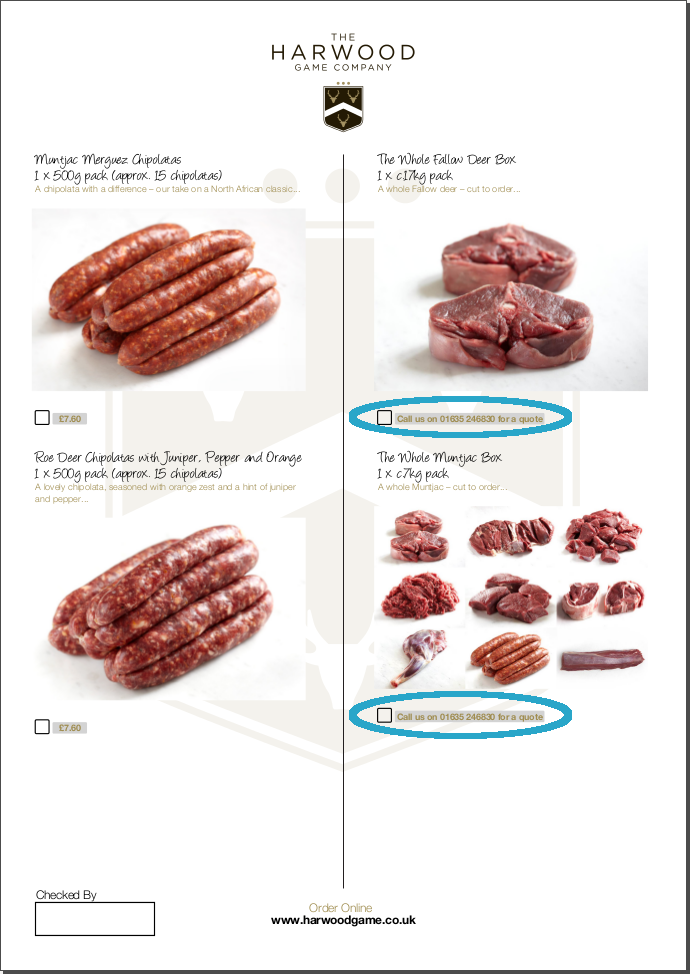
Remember how the checklist has been failing to generate? This is because the PDF engine has been complaining that the Prep file is trying to access an attribute img of the products which does not exist. If we check the XML, we'll see that there is a tag
prod.description= fix(prodTag.Description)
prod.image = os.path.split(asNative(fix(prodTag.ImageUrl)))[-1].replace(' ','')
if prod.modelNumber in request_a_quote:
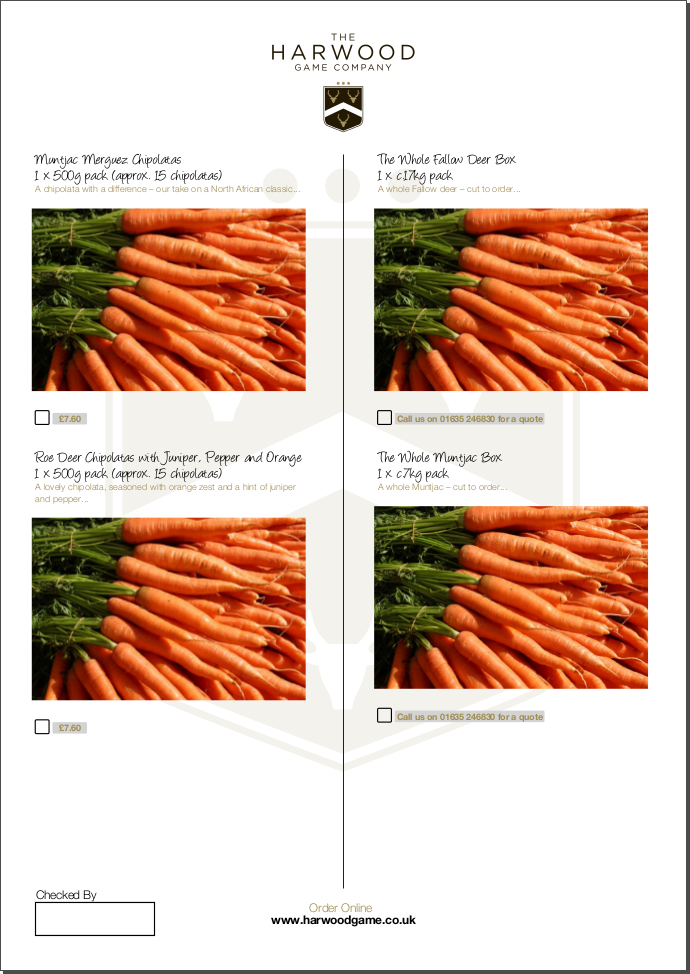
Now try building the document again. You will need to download a pack of images and extract the /img directory within your /rml directory for this to work. Let's tidy up this issue when there is no set price and the 'request a quote' text does not fit into the small box. Let's put a conditional statement in our template which uses a different size box when the quote gets big. Also we add images into the code. Your story should now look like this: (in /rml/checklist_template.prep)
<story>
    <setNextTemplate name="products"/>

    <para style="h1">Packing Checklist</para>

    {{for prod in products}}

    <para style="prod_name">{{i(prod.name)}}  </para>
    <para style="prod_summary">{{i(prod.summary)}}</para>
    <imageAndFlowables imageName="{{RML_DIR}}/{{if VEGETARIAN}}img/carrot.jpg{{else}}{{prod.image}}{{endif}}"
imageTopPadding="12"
imageBottomPadding="12"></imageAndFlowables>

    {{if len(str(prod.price)) < 15}}
        <illustration width="55" height="20">
        <fill color="lightgrey"/>
        <rect x="15" y="3" width="30" height="10" fill="Yes"
stroke="No" round="1"/>
        <fill color="(0.2,0.25,0.60,0.25)" />
        <setFont name="HelveticaNeue-Bold" size="7.5"/>
        <drawCenteredString x="30" y="5">{{prod.price}}</drawCenteredString>
    {{else}}
        <illustration width="85" height="20">
        <fill color="lightgrey"/>
        <rect x="15" y="3" width="130" height="10" fill="Yes"
stroke="No" round="1"/>
        <fill color="(0.2,0.25,0.60,0.25)" />
        <setFont name="HelveticaNeue-Bold" size="7.5"/>
        <drawCenteredString x="80" y="5">{{(prod.price)}}</drawCenteredString>
    {{endif}}

    <rect x="0" y="3" width="12" height="12" fill="No" stroke="Yes"
round="1"/>
    </illustration>
    {{endfor}}
</story>
Rebuild the document:
Finally, if all this meat is getting to you, you can change the vegetarian setting in line 11 of checklist_template.prep to True: